Category: Digging Deep (Page 2 of 2)

REVIEW: My Toro Snowmaster 724 QXE

The 2015-2016 winter was our first winter in our house, and I fully intended on surviving with only a shovel. I changed my mind, after 8+ inches of heavy wet snow, and almost 2 hours to shovel our driveway. Having already done some research, I seized my chance…I drove to Home Depot and bought a Toro Snowmaster.

I’ve been using my Snowmaster 724 QXE since last year and I was a little apprehensive at first, since it was a new model. After using it a few times, that apprehension is gone.

The Design

Photo credit: Toro

Yes, it is technically a single stage with a different auger design. They call it “inline two stage” because the sides of the auger pull snow toward the center, and the center paddle (much smaller and more scoop-like than a standard single-stage) throws the snow out the chute. The bucket and chute design are shallower in their tapering to maximize throwing distance. It may not throw as far as a two stage, since it lacks an impeller, but if you keep it moving and full of snow, it can throw snow 20-30 feet. The lack of impeller lets Toro use more power in the auger, which spins very fast (“10 times faster than a 2-stage”). This also allows the blower to be a lot lighter, needing much smaller tires (this isn’t a disadvantage).

The lack of weight on this blower means it moves around more like a lawnmower, than a typical two stage blower. Toro even put their personal pace system from their mowers on it. This means that the controls are very minimal:

  • one lever to engage the auger
  • Toro’s “quick chute” joystick (which is awesome)
  • personal pace bar to push the blower and engage the drive-train.

All this means that I can clear my driveway and sidewalk in much less time than my neighbors.

Continue reading

Making sense of the election: who did you vote for and why?

Like most people, I was shocked at the result of this week’s US presidential election.  Facebook has been an interesting place, to say the least, with differing viewpoints, though very little civility.  (Even many calling for civility are not being sensitive to other viewpoints.)

I voted the way I did for many reasons, and at this point, I’ve come to grips with the fact I don’t really know why others voted the way they did.  I want to change that.

My goal is to compile responses from people as to why they voted the way they did in the presidential election.  I’ll personally review each response and share them all in a future post.   I think it will be educational and enlightening, and it will hopefully help us to understand each other better and work together.

The rules

Please no name-calling, labels, or libel about the other candidate.  If one of your reasons for voting was the other candidate, please express your views respectfully.  Also, if you are going to make a claim about a candidate, please fact check.

Finally, share this with your friends.  I want as big a sample size as possible.

Your views

    Setting up git for deploying website updates (Dreamhost and other hosts)

    For this site and the blog I built for my company, I use WP Engine, a WordPress host (which I can definitely recommend).  WP Engine has a built in staging environment as well as the option to deploy to staging or production via Git.  If you don’t know what Git is, you can probably stop reading now.  If you are still here and want to know about Git, lmgtfy.

    I’m currently working on a new website for my church, as the current site looks like this:

    Since WP Engine can be costly, and Dreamhost offers free hosting for non-profits, we are going to save some money and go that route.  Since I’ve come to enjoy the ease of deployments with Git on WP Engine, I immediately started looking for a way to do the same thing with Dreamhost.

    I don’t have a staging environment (nor do I need one for this project presently), but otherwise the end result is nearly the same.  Thanks to Brandon Evans for the bulk of the setup, and Etel Sverdlov on Digital Ocean for the SSH setup instructions.

    SSH into your server and init the repo

    1. Make sure you have shell access to the server, in my case, Dreamhost has a wiki article on how to enable.  Other hosts, if they give this access, likely have a similar setting.
    2. ssh into your server:
      ssh [email protected]
      and enter your password.
    3. Make sure git is installed on your server.  If it is not, there are a number of ways to do this.  Here is how Dreamhost suggests…if you have terminal access, just use apt-get.  I didn’t have to do any of this, since git was already present on my server.
    4. Create the directory that you want to house the repository:
      mkdir website.git && cd website.git
      git init --bare

      Notice that we are creating a bare repository.   Per Jon Saints, bare repositories are for sharing, as opposed to the standard git init repos that are for working.

    5. The bare repository is now created, but we aren’t done. We need to have the files we push to the new repository automatically moved to the folder we need them in.  In my case, it was the website (WordPress theme) directory.
      cat > hooks/post-receive
      
      #!/bin/sh
      git --work-tree=path_to_folder --git-dir=git_repo.git checkout -f
    6. When you’re done typing everything from #! (hash-bang) to checkout -f, type control-d to save the file.
    7. Next run
      chmod +x hooks/post-receive

      to allow that file to be executed by the system.

    8. Next we need to exit SSH

    Add the new repository locally as a git remote

    This is pretty standard git and I don’t think I need to outline this for you.  One thing to note is the location of your remote:

    git remote add web ssh://user@yourdomain.com/home/user/yourRepo.git

    Copy your ssh key to the remote

    cat ~/.ssh/id_rsa.pub | ssh [email protected] "mkdir -p ~/.ssh && cat >> ~/.ssh/authorized_keys"

    This lets you not have to enter your password every time, similar to an ssh setup in github.

    You’re done!

    Now you can git push to your new remote repo.  You’ll get a message like this if you are successful:

    Counting objects: 30, done.
    Delta compression using up to 4 threads.
    Compressing objects: 100% (17/17), done.
    Writing objects: 100% (17/17), 5.16 KiB, done.
    Total 17 (delta 11), reused 0 (delta 0)

    I don’t consider myself an expert, but wanted to share since it took me a bit to get a grasp on all the steps needed.   Thanks again to Brandon Evans for the bulk of the setup, and Etel Sverdlov on Digital Ocean for the SSH setup instructions.

    Composting: I do it and you can too!

    There’s nothing quite like the smell of decay.  Actually, if you are composting properly, it doesn’t smell much at all.   Plus, when you compost, you get free natural fertilizer for your garden or other plants AND reduce the amount of waste you are sending to the landfill.  (And no, that waste doesn’t compost the same way at the landfill.  It decays without enough oxygen or carbon, and produces a foul methane gas mixture.)

    “But compost bins are pricey.”

    Sure you could spend $100+ on a compost bin from Home Depot or somewhere else, or you could make your own for under $15.   This is what I did (I actually made three of them) and the compost is flowing.  My bins are made from standard 32 gallon plastic trash cans, with a bunch of 3/4 inch holes drilled in them. DSC00830 This design has a few advantages and a couple disadvantages.

    Pros:

    • Cheap
    • Easy to start
    • Doesn’t take up much space
    • Keeps out small animals looking for a snack
    • Small enough to move, even when full

    Cons:

    • Difficult to create hot compost (it is possible, and I have done it, but even if you do get it hot, it doesn’t stay hot for long)
    • Requires drilling some holes

    Collecting kitchen scraps

    DSC00838One we started composting we had to change our process.  Alyssa does most of the cooking, so she had to stop throwing away fruit/vegi scraps, coffee grounds, and other compostable things, and start saving them.  At first we just used an ice cream pail. It worked well, but wasn’t the nicest looking thing.  Then after it got colder and we didn’t want to go into the garage to get it (we didn’t want a dirty ice cream pail in the kitchen), I bought a nice looking one that can stay on the counter.  It has a cover with a carbon filter so it vents, but doesn’t smell.  It matches our kitchen and works great.

    Letting it breathe

    DSC00837The most important thing needed to maintain a smallish DIY trash can compost bin, besides the correct mixture of Carbon and Nitrogen, is turning it.   If you don’t turn your compost, it really starts to smell.  They make specialized compost tools, but I just use a garden fork.  At first I tried a garden shovel, but I quickly realized that it wasn’t going to cut it due to the weight and compactness of compost, so I picked up my pitch garden fork from Menards.

    Ramping it up

    This is working fine for me at the moment, but if I ever want to speed up my compost efforts there are two ways I’m looking to go: 1) Start vermicomposting (worm bin) and 2) get a bigger compost bin/pile.

    Worm bins

    Worms actually create even richer compost, and some consider vermicompost as “black gold”.  I plan on doing a DIY flow through style bin based on this design.  I’d also need some “red wigglers“, which according to /u/GrandmaGos are dirt cheap at a bait shops. (Thanks for the tip!)

    Larger bin/pile

    If we ever decide to ramp up our efforts even more, I’d consider building a larger bin out of wood or just buying a cheap larger one.  A larger bin would be able to accommodate more leaves in the fall, but would also require more “green” materials than we’re currently creating.  We’d maybe look at getting used coffee grounds from a local coffee shop and/or growing some comfrey (though we might do this anyway).

    Other resources

    How to compost: http://eartheasy.com/grow_compost.html
    Worm composting: http://compost.css.cornell.edu/worms/basics.html
    Compost bin designs (Cornell): designscompostingsystems (pdf)
    Great gardening Youtube channel: One Yard Revolution
    Me (I’ve done a bunch of research, if you have questions ask me in the comments…)

    My bins:

     Happy Composting!

    Reflections on being a homeowner, 6 months in

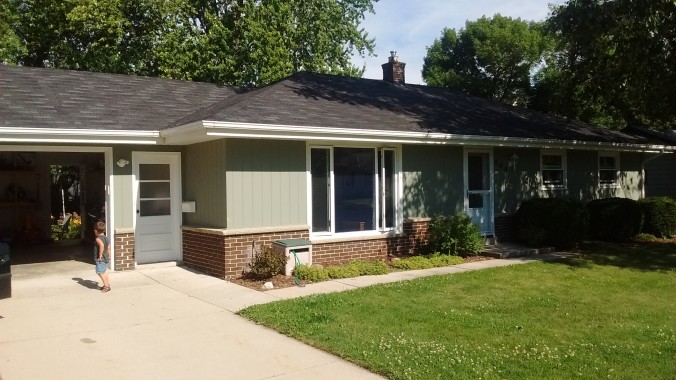
    Alyssa and I have been homeowners since April and I figured it would a good time to reflect about what I’ve learned and my likes and dislikes.

    I enjoy yard-work

    When we first moved in the middle of April, the first thing I focused on was the leaves that weren’t raked last fall.  I had to buy my first rake!  It gave me a nice sense of accomplishment to both complete this task as well as to see how much better the yard looked upon completion.

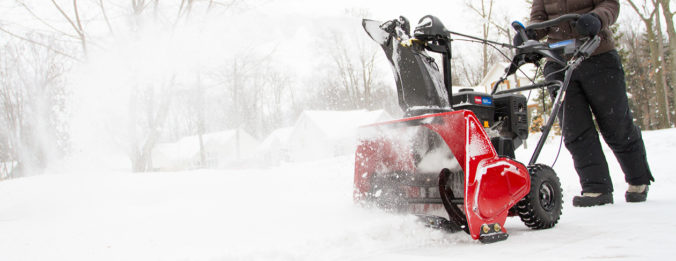
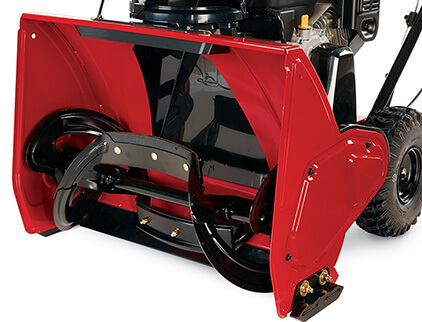
    After the grass in the yard started growing I had to mow the lawn.  At first I used an old mower that my uncle gave me, and after some struggles, decided to just buy a new one.  (Let me know if you are in the market for a new mower, I could pass on the research I did when I bought mine.)  The new mower is a variable self-propelled mower with bagging, mulching, and regular discharge options.  It is a joy to cut my lawn and the results are more than worth the effort.

    There are a number of other things that I do around the yard, all of which I really hated to do a part of my chores growing up.  The years of not doing them, and the fact that someone (my dad) isn’t telling me to do it, makes these things more enjoyable.

    Conservation is fun

    I’ve always been pro-recycling and pro-environment, since I have a deep ingrained love of the outdoors, stemmed from my lifetime of camping/hiking/outdoor sports as well as my duty to protect  God’s creation.

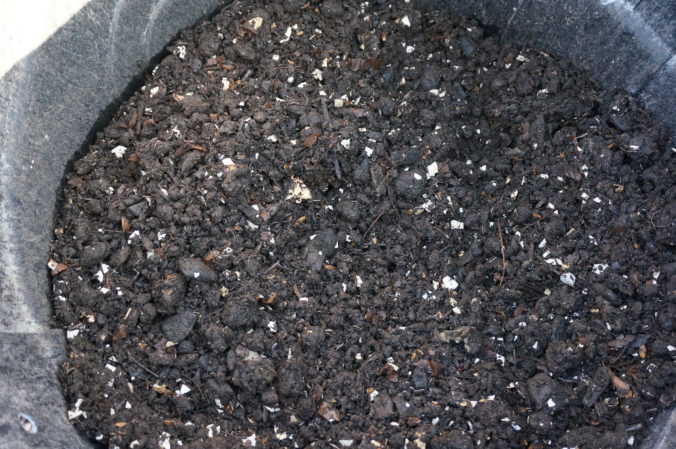
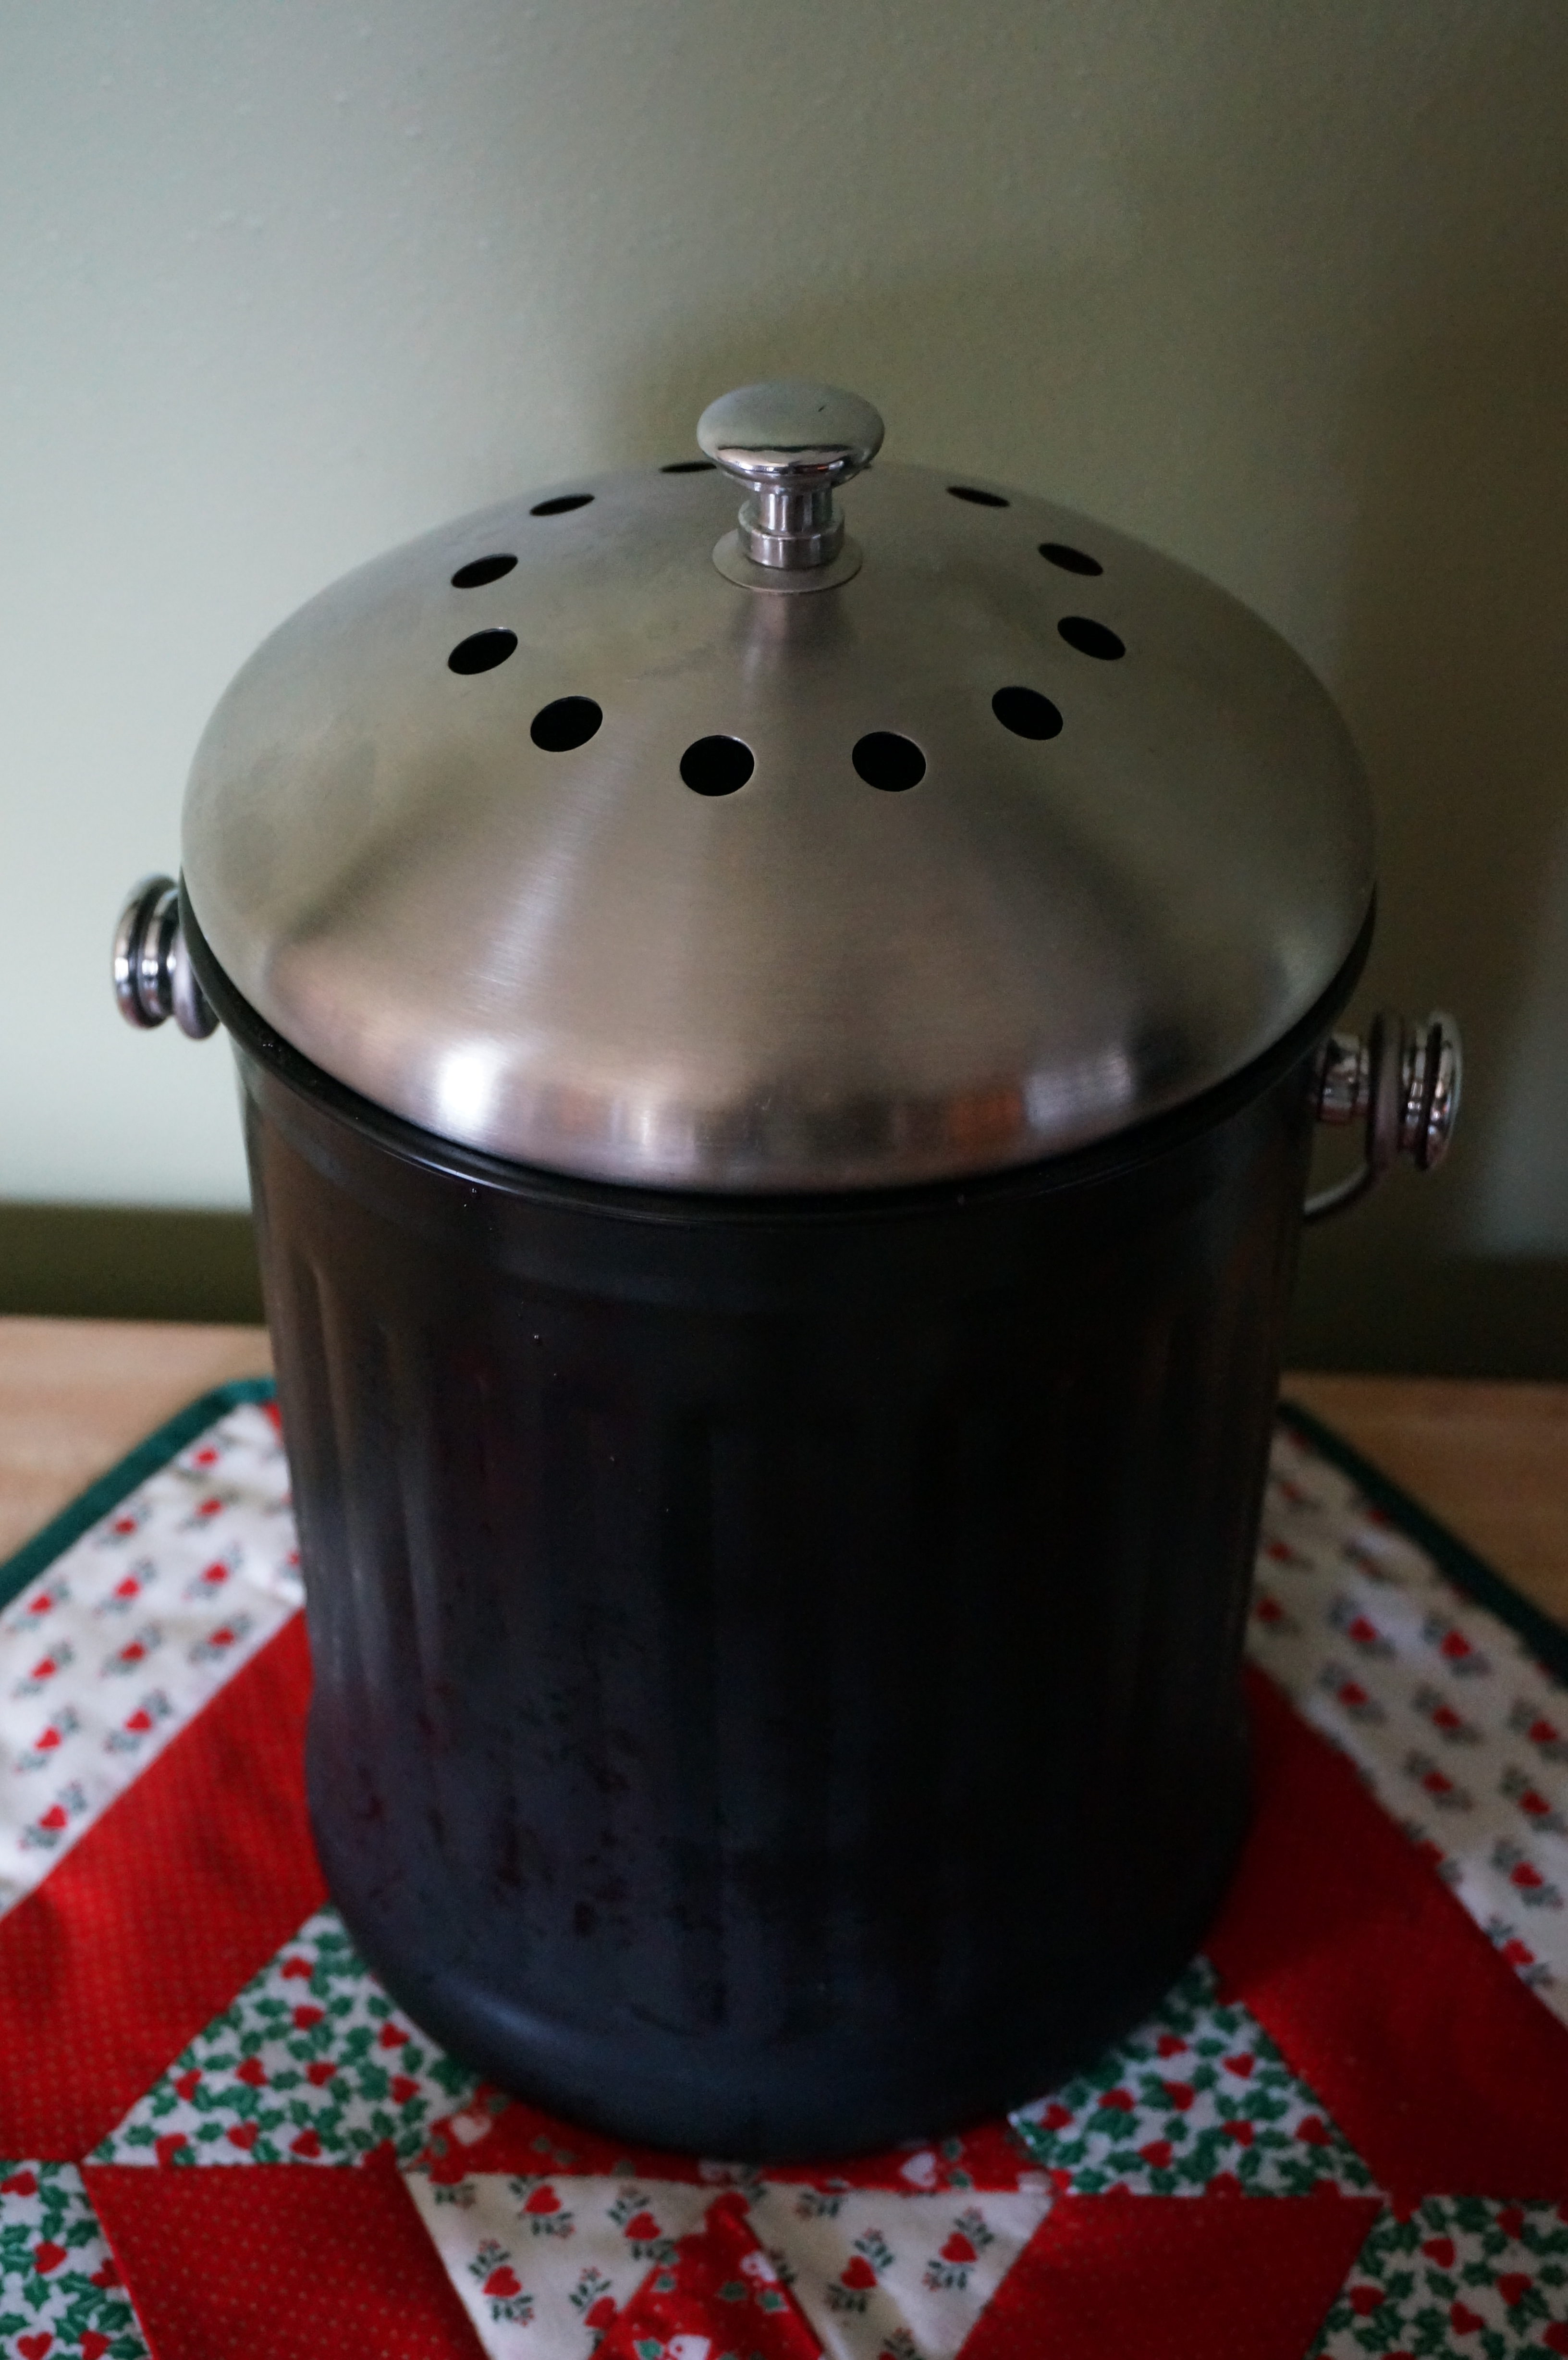
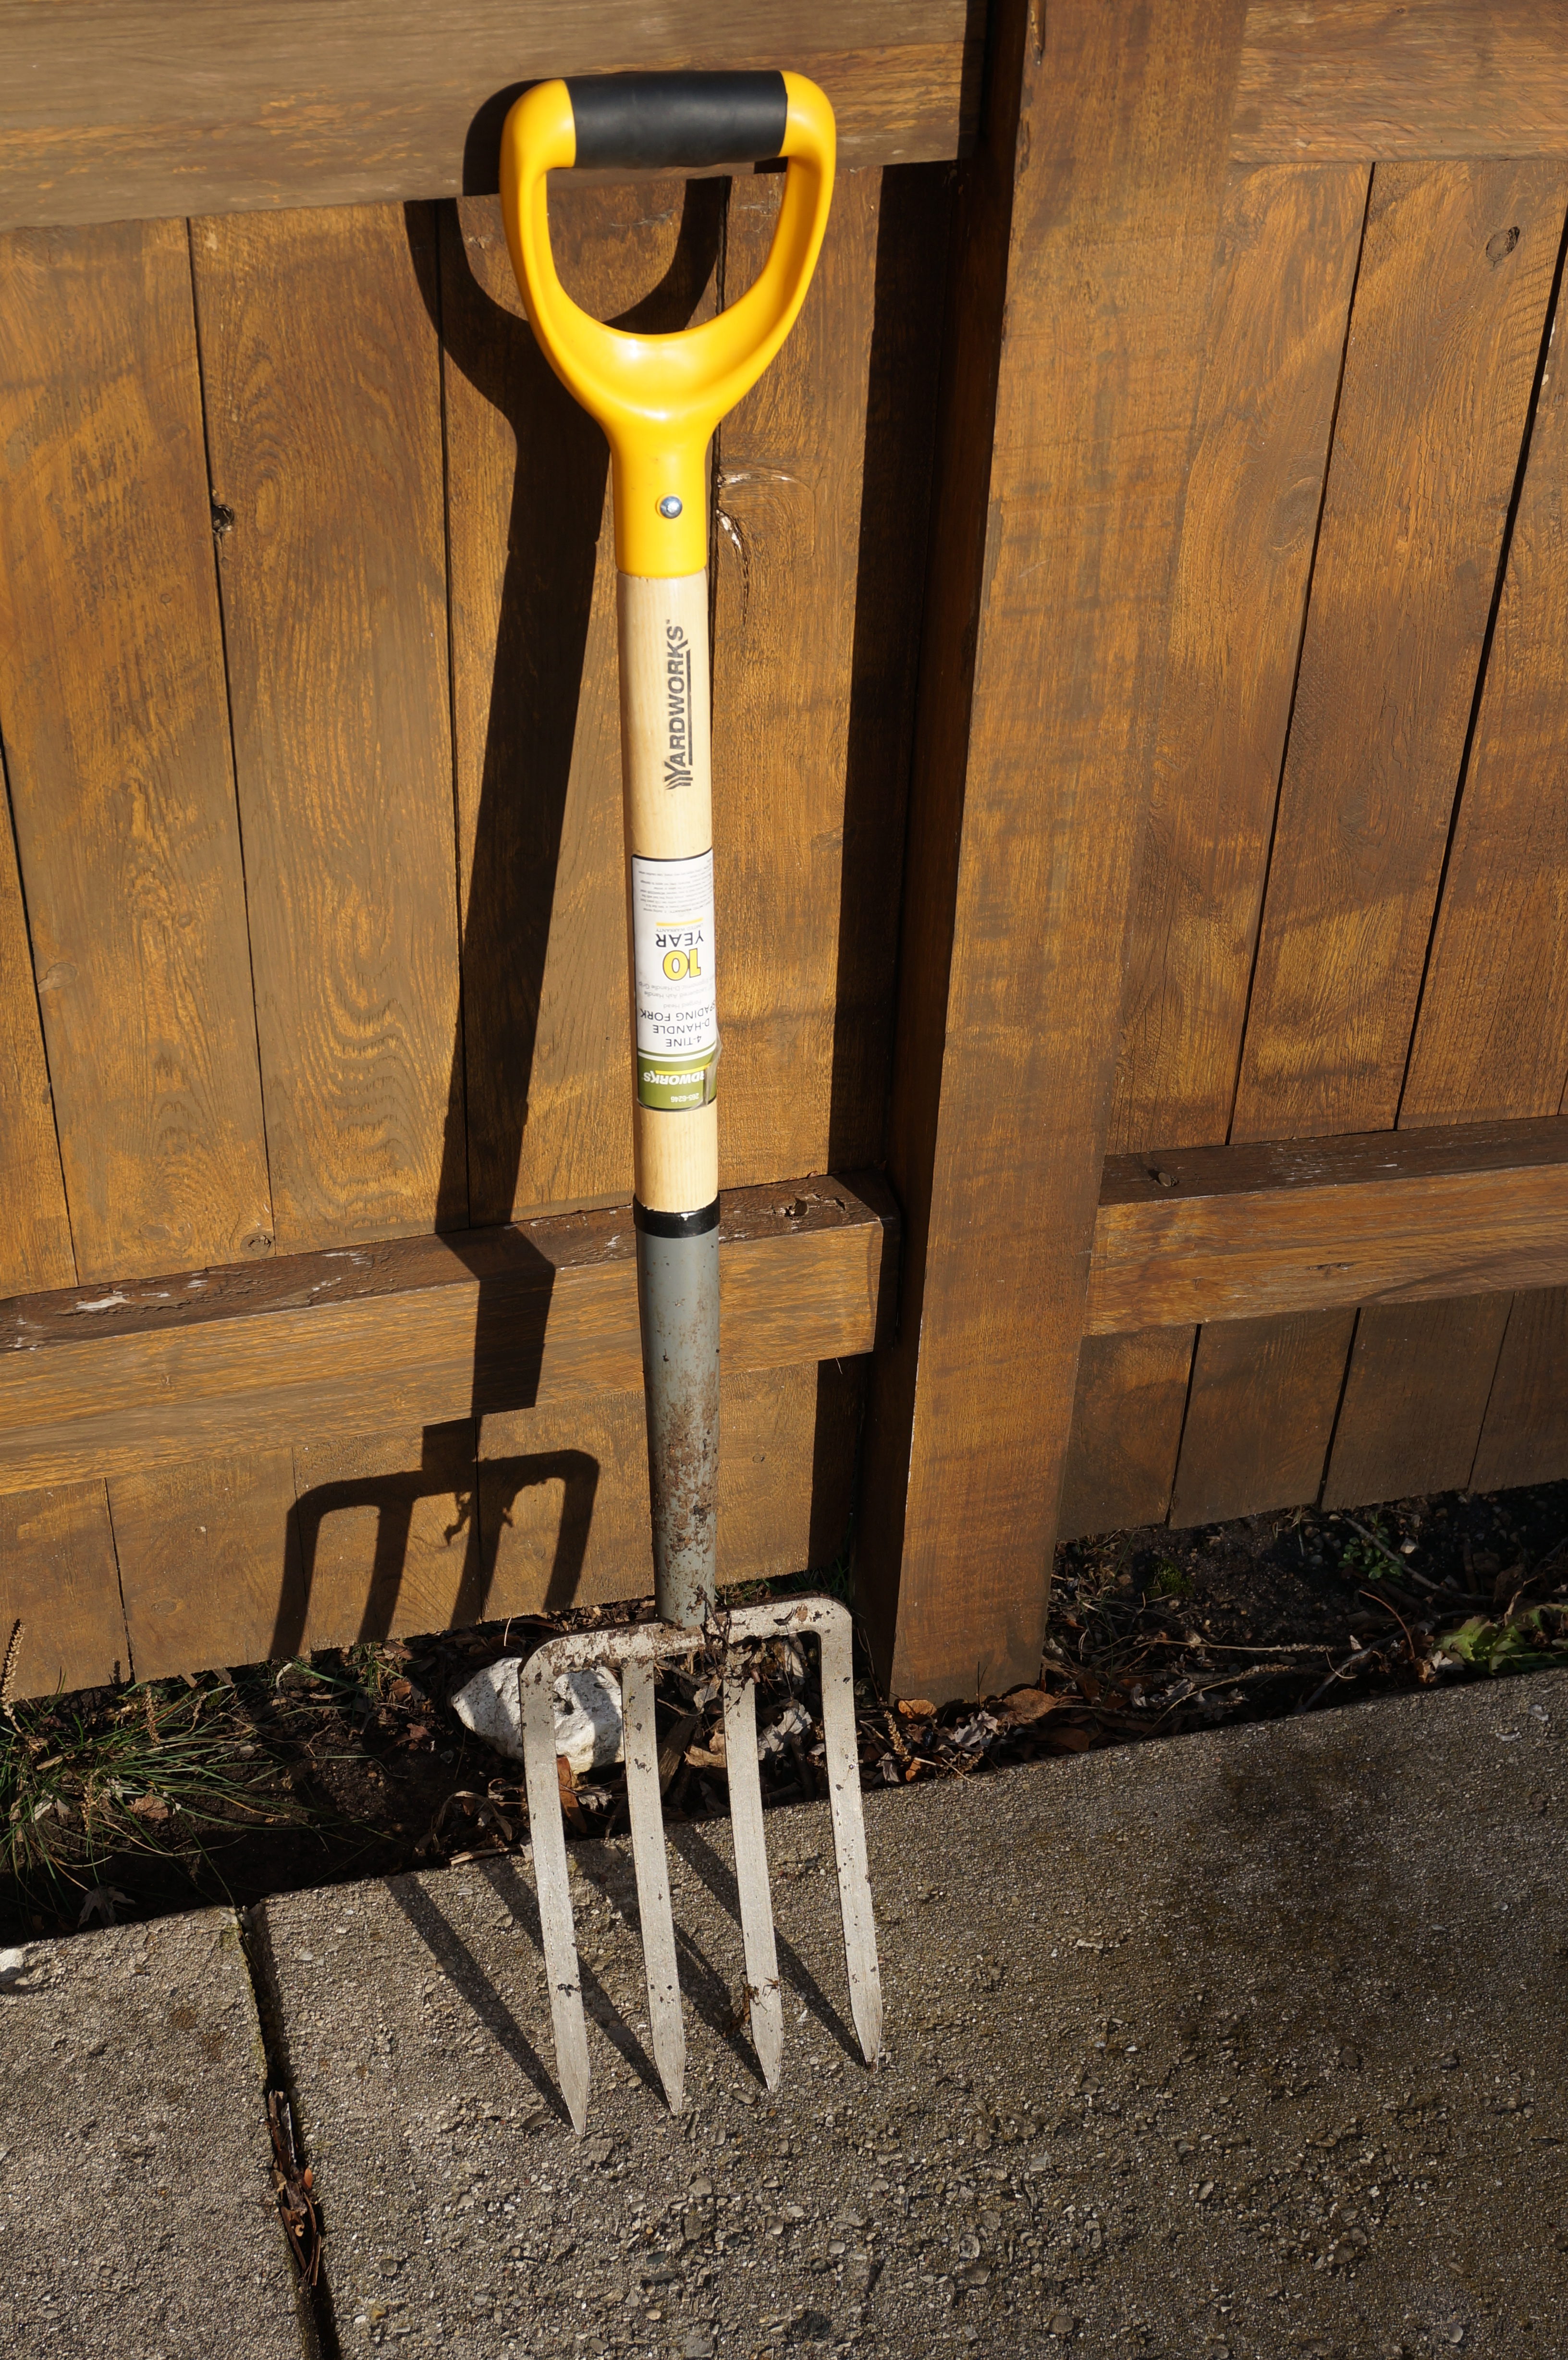
    Since owning our home, I made two cheap garbage cans into compost bins (drilled some holes in it) and we have been composting all our kitchen scraps and appropriate yard waste.  It is impressive how much less garbage we generate when composting.  Plus, pitchforks are fun.

    We also bought a couple rain barrels and have been using rainwater to water our plants outside.  Next spring when we plant a garden instead of just using a bunch of planter boxes, I want to rig up an irrigation system with the rain barrels.  We’ll see if that happens.

    You think differently about things

    When we rented, we didn’t want to spend much time, effort, or money improving things, unless it came to cleaning.  We knew we weren’t going to be living there for very long, so it just didn’t make any sense.  Since we’ve been homeowners, we’re frequently making small improvements here and we appreciate the control and learning as we go.

    I hate painting

    Shortly after we moved in we re-painted 4 rooms.  Paint is relatively cheap and we couldn’t justify paying someone else to do it, so Alyssa and I bit the bullet and did the paint ourselves.  We learned some things as we went, and one of the things I learned was how much I dislike painting. I also learned that swatches aren’t enough for Alyssa to be happy with the color.  We needed to get samples.  (Repainting the kitchen right after we painted it the first time told us this.)

    There is always something more I could do

    …but that doesn’t mean I have to be constantly busy.  I could work on my house full time, but that’s not the point.  It will never be perfect.  Sure there are things I prioritize, but some things aren’t worth my time or money right now.  Maybe they will be down the road and that’s fine, but I’ve quickly come to the realization that I can’t do it all now.  I also don’t want to.

    Am I happy?

    I don’t have any regrets thus far.  When we made the offer, I was definitely hesitant.  Committing to paying that amount of money will do that to a person.  What if something went wrong?  What if the inspector missed something crucial?  I got over my fears and since the house checked almost all the boxes in our search, we went for it.  Alyssa and I are both really happy with the decision.

    Breakfast Cereals, Ranked

    I eat breakfast every single day, and most days I eat cereal.  When I say cereal, I don’t mean that dog food stuff that some people eat or the cardboard that others eat.  I eat cereal that tastes great, and may or may not be that great for me, though mostly the fact that I’m eating breakfast is what is really important.

    The rules for this list are simple.  First, every cereal on this list is still manufactured and sold in stores.  Someday I may do a tribute to great cereals that are no more.  Second, every cereal on this list I have personally tasted.  While you’d think this would severely shorten my list, you’d be wrong.  I’m a cereal lover and connoisseur.  Finally, I’ll add there are not many cereals on this list one would consider healthy.  I usually steer clear.  Cereals like Special K, Total, Kashi, etc. are not on this list because I don’t eat them.  And I probably won’t in the future, unless you convince me otherwise in the comments.

    Without further ado, here is my list of breakfast cereals, ranked: Continue reading

    Newer posts »

    © 2024 Jimmy's Sweet Blog

    Theme by Anders NorenUp ↑

    Jimmy's Sweet Blog