At the beginning of July, with the help of friends and family, I replaced the roof on my house. It was hard work, with a lot of planning, and we needed all that help to get it done as quickly as we did. I’m really glad I did it myself, and would make the same decision to do it again in a heartbeat. I was fortunate to receive an insurance claim for hail damage that covered the costs (and then some). Here’s how it all went down.
Part 1 was about the knowing and the planning and part 2 was about materials. This post will talk about the tools and other miscellaneous things needed for replacing your asphalt shingle roof. I got many of these tools from Menard’s or Amazon. I’ll leave some links to the exact item I used (or a very close substitute).
Tear-off
The tear off is the hardest work. On my roof we had to remove two layers of shingles. The top layer came off fairly well, but the older bottom layer was crumbly and very difficult to remove. Here’s what we need for a successful tear-off.
Tear-off/shingle shovel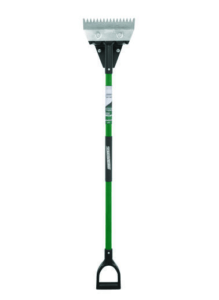
I bought two different styles, but preferred the one that look less like a shovel.
- Here’s my preference at Menard’s: Masterforce Shingle Remover
- Here’s a similar one from Amazon: Bully Tools Shingle Remover
- Here’s the other style, which worked better in certain situations from Menard’s: Masterforce Shingle Shovel
- Here’s a shingle shovel from Amazon: Bully Tools Shingle Shovel or Truper Roofer Spade
Tarps
It’s a good idea to lay tarps or plastic sheeting around your house to help contain the nails that fall of the roof (and they will fall). We use a combination of old cheap tarps and plastic sheeting to do this.
- Here’s an example from Amazon of plastic sheeting: TRM 6 mil Plastic Sheeting
- Here’s a tarp: Amazon Basic’s Blue Tarp
Magnetic Sweeper/pickup tool
Magnetic sweepers can really help with nail pickup, and will even get nails you can’t see. They also help because you won’t have to bend over to pickup every nail you do see.
- I got this 22″ sweeper from Menard’s: Tool Shop 22″ Magnetic Sweeper
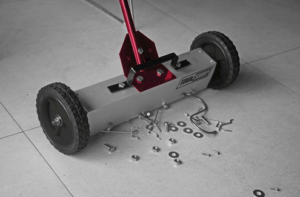
- I also got this magnetic pickup from Menard’s: Tool Shop® Magnetic Pickup Tool
- Here’s a similar sweeper from Amazon: Neiko Magnetic Pick-Up Sweeper
- Here’s a similar (but probably better) pickup tool from Amazon: Grip 50 lb Telescopic Magnetic Pickup Tool
Dumpster
This isn’t a tool per se, but is instrumental in a successful tear off. I recommend shopping around, but also getting a bigger dumpster than you need. I’m glad I did, because with the extra layer of shingles to tear off, I wouldn’t have fit everything if we got a smaller dumpster. I also recommend getting a roofing dumpster. They tend to be a little cheaper, and they can recycle some of the materials. The company I used claims to recycle up to 75% of the materials. We got a 20 yard “lugger” style dumpster (the kind with the taller sides that are lifted in place, because they will cause less damage to the driveway and can get closer to the house than the “roll-off” style dumpster. We used a local company called Sorce Services and can recommend them if you are in the Milwaukee area.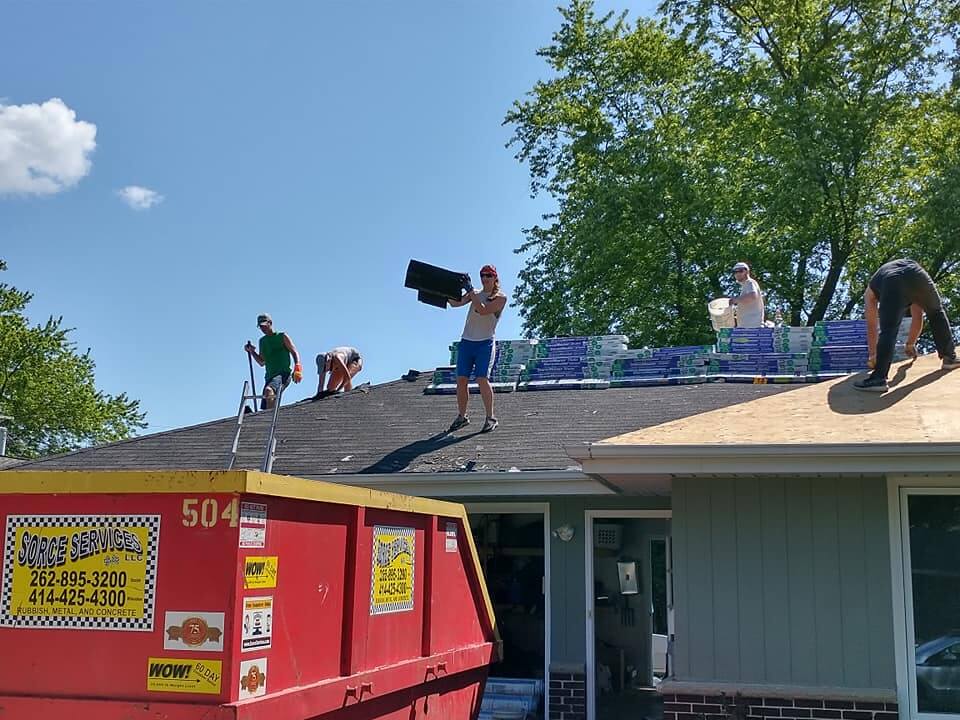
New roof install
The most obvious tool needed is a roofing nailer, but there are other less obvious tools needed/helpful for the install.
Underlayment install: magnetic cap nail hammer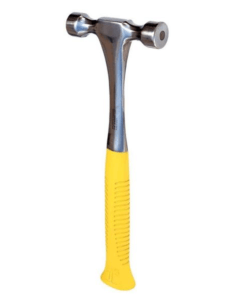
You can go both ways on this, but a magnetic hammer is the best value by far. A regular hammer can work, but then you have to hold the cap nails and risk hurting yourself. You can buy a pneumatic cap nailer/stapler, but this was definitely overkill for my roof. A magnetic hammer is the best, cheapest option. I bought two, but don’t have a strong opinion about either one, both worked great. My wife and my sister were the primary installers of the underlayment, and the double head one was my wife’s favorite:
They go in and out of stock on Amazon, but are available at the big orange store as well.
Cutting Shingles
I used a combination of a utility knife and tin snips to cut shingles. I like the tin snips the best, because I had the best control. Here are the ones I used the most:
- TEKTON Tin Snips
- I also used these, but they were a bit bulky and less comfortable: Crescent Wiss 14″ Lightweight Aluminum Handle Tinner’s Snip
- The utility knife I used was the classic Stanley. You can get a more ergonomic knife, but this works great and I’ve had it for years: Stanley Classic 99
Nailing shingles
The roofing nailer I got was the cheapest one from Menard’s. It performed perfectly. If you are doing this professionally, I can’t speak to the long-term reliability, but it was cheap and did the job.
Tool Shop® 15° Pneumatic Coil Roofing Nailer
I know the Bostitch nailer is more sought after by pros, so here’s that link on Amazon: Bostitch Roofing Nailer. It is more than double the price of the Tool Shop one, so I have no regrets.
Along with the nailer, I also purchased an air compressor and a 100 ft hose and the necessary connections:
- Bostitch 6 gallon pancake compressor I actually bought this in a kit with some accessory from Menard’s, but that kit doesn’t seem to be available right now.
- Flexzilla Air Hose: Menard’s or Amazon
- Hose fittings: Menard’s or Amazon
The only other tool I needed was a standard claw hammer. There are cases where the nails don’t go in far enough or at the right angle, and you need to pound it flat or pull it out. I used a cheap claw hammer that I kept in my tool belt.
Ladders
I used my 13′ Keller little giant knockoff I got from Menard’s years ago, but also borrowed a couple ladders from a neighbor and my brother. Just make sure the ladder you are using to get on your roof is taller than the roof by at least 3-4 feet.
That’s it
Let me know in the comments if you have any questions! Roofing was hard work, but fulfilling and very cost-saving. I got a better roof for less money and got to learn a new skill.
Recent Comments