For this site and the blog I built for my company, I use WP Engine, a WordPress host (which I can definitely recommend). WP Engine has a built in staging environment as well as the option to deploy to staging or production via Git. If you don’t know what Git is, you can probably stop reading now. If you are still here and want to know about Git, lmgtfy.
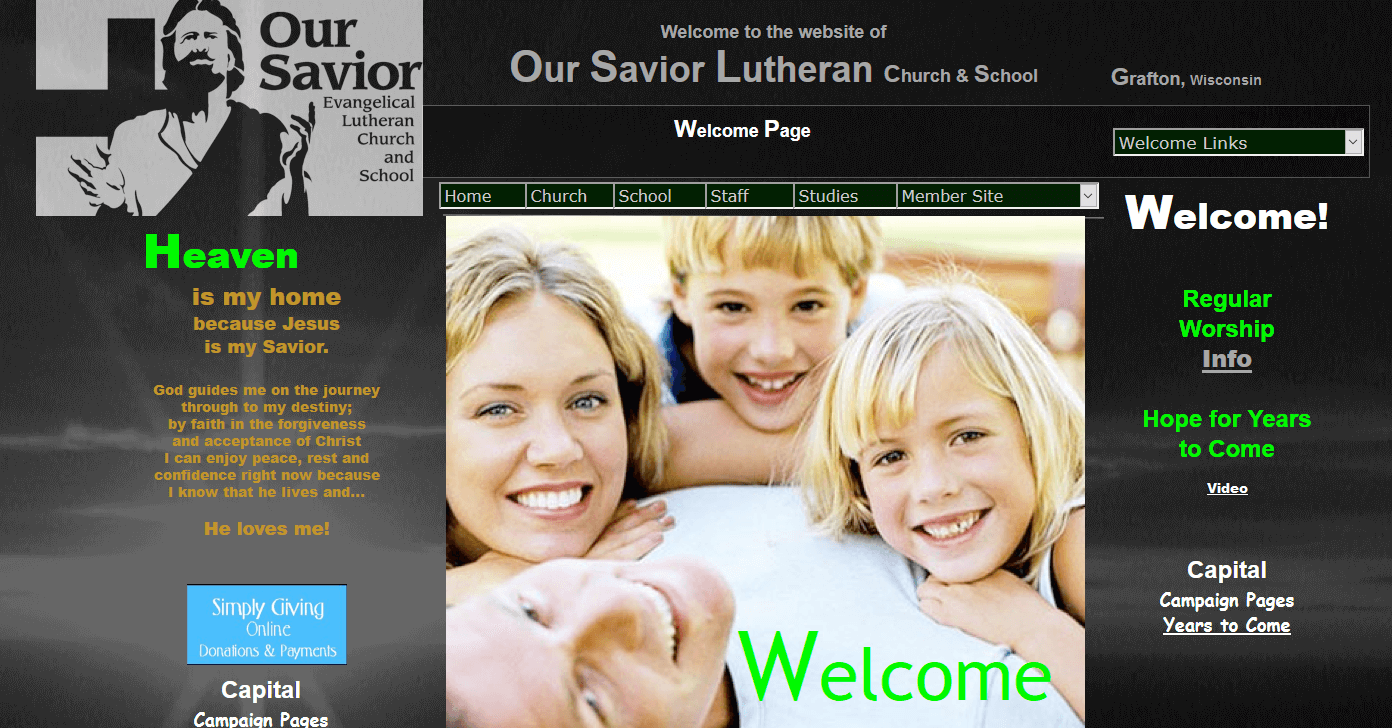
I’m currently working on a new website for my church, as the current site looks like this:
Since WP Engine can be costly, and Dreamhost offers free hosting for non-profits, we are going to save some money and go that route. Since I’ve come to enjoy the ease of deployments with Git on WP Engine, I immediately started looking for a way to do the same thing with Dreamhost.
I don’t have a staging environment (nor do I need one for this project presently), but otherwise the end result is nearly the same. Thanks to Brandon Evans for the bulk of the setup, and Etel Sverdlov on Digital Ocean for the SSH setup instructions.
SSH into your server and init the repo
- Make sure you have shell access to the server, in my case, Dreamhost has a wiki article on how to enable. Other hosts, if they give this access, likely have a similar setting.
- ssh into your server:
ssh [email protected]
and enter your password. - Make sure git is installed on your server. If it is not, there are a number of ways to do this. Here is how Dreamhost suggests…if you have terminal access, just use apt-get. I didn’t have to do any of this, since git was already present on my server.
- Create the directory that you want to house the repository:
mkdir website.git && cd website.git
git init --bare
Notice that we are creating a bare repository. Per Jon Saints, bare repositories are for sharing, as opposed to the standard
git initrepos that are for working. - The bare repository is now created, but we aren’t done. We need to have the files we push to the new repository automatically moved to the folder we need them in. In my case, it was the website (WordPress theme) directory.
cat > hooks/post-receive #!/bin/sh git --work-tree=path_to_folder --git-dir=git_repo.git checkout -f - When you’re done typing everything from
#!(hash-bang) tocheckout -f, type control-d to save the file. - Next run
chmod +x hooks/post-receiveto allow that file to be executed by the system.
- Next we need to
exitSSH
Add the new repository locally as a git remote
This is pretty standard git and I don’t think I need to outline this for you. One thing to note is the location of your remote:
git remote add web ssh://user@yourdomain.com/home/user/yourRepo.gitCopy your ssh key to the remote
cat ~/.ssh/id_rsa.pub | ssh [email protected] "mkdir -p ~/.ssh && cat >> ~/.ssh/authorized_keys"This lets you not have to enter your password every time, similar to an ssh setup in github.
You’re done!
Now you can git push to your new remote repo. You’ll get a message like this if you are successful:
Counting objects: 30, done.
Delta compression using up to 4 threads.
Compressing objects: 100% (17/17), done.
Writing objects: 100% (17/17), 5.16 KiB, done.
Total 17 (delta 11), reused 0 (delta 0)
I don’t consider myself an expert, but wanted to share since it took me a bit to get a grasp on all the steps needed. Thanks again to Brandon Evans for the bulk of the setup, and Etel Sverdlov on Digital Ocean for the SSH setup instructions.
Recent Comments